Contents:
- Understanding Hair Thinning vs Hair Loss
- Why Thinning Your Hair Matters
- Professional Thinning Methods Explained
- Razor Thinning
- Scissor-Over-Comb Thinning
- Point Cutting
- Texturizing Shears
- DIY Thinning Tools and Techniques
- Thinning Shears (Texturizing Scissors)
- Razor Method at Home
- Clipping and Section Method
- Budget Breakdown: Professional vs DIY
- Step-by-Step DIY Thinning Guide
- Preparation (15 minutes)
- Sectioning (5 minutes)
- Thinning Process (60–90 minutes)
- The Crown Section (Most Visible)
- Final Check (10 minutes)
- Thinning Different Hair Types
- Fine Hair That Feels Thick
- Coarse, Curly Hair
- Straight, Thick Hair
- Wavy Hair
- Mistakes to Avoid
- Products That Complement Hair Thinning
- Styling Tips for Thinned Hair
- How Often Should You Thin Your Hair?
- When to Seek Professional Help
- Frequently Asked Questions
- Does thinning hair make it grow back thicker?
- Can I thin curly or textured hair the same way as straight hair?
- How much should I thin my hair in one session?
- What’s the difference between thinning shears and regular scissors?
- Can I thin my hair if it’s already damaged?
- Moving Forward: Your Hair Thinning Plan
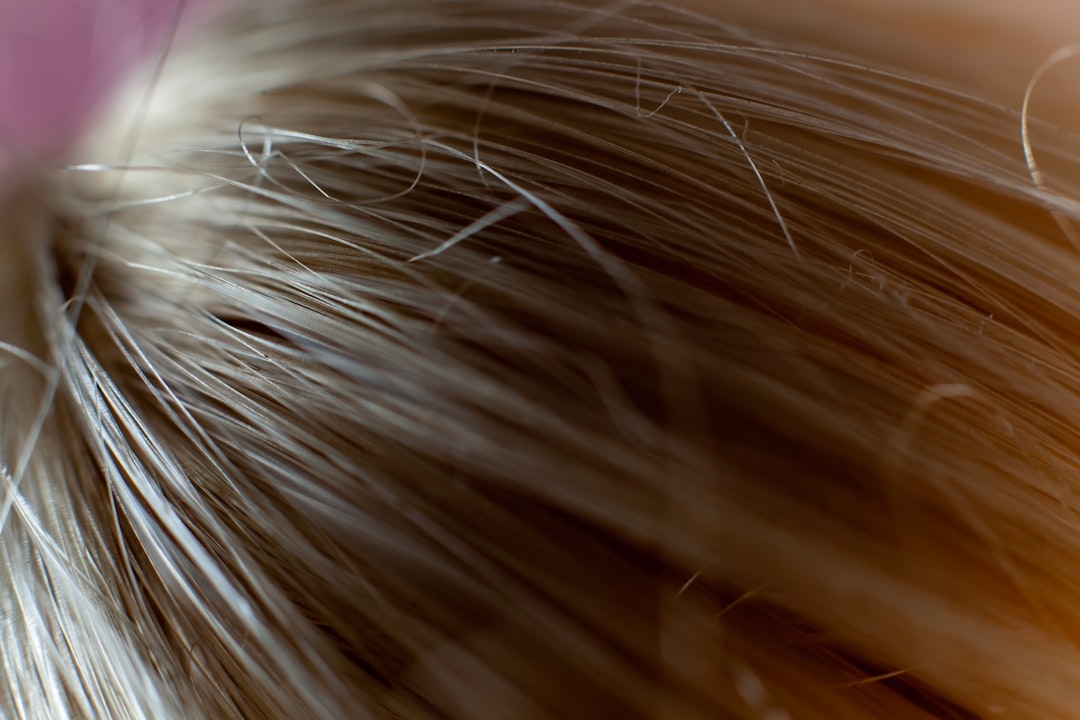
Thick, voluminous hair sounds like a dream to many, but those of us dealing with it know the reality: excess bulk makes styling harder, takes forever to dry, and can feel unmanageable in tight spaces. How to thin hair effectively depends on understanding your hair type, choosing the right tools, and applying proven techniques that actually work without butchering your cut.
Whether you’re renting a shoebox flat in London or managing a small apartment where drying thick hair creates a humidity nightmare, thinning your hair can transform your daily routine. This guide walks through professional methods, budget-friendly options, and DIY approaches that deliver real results.
Understanding Hair Thinning vs Hair Loss
Before reaching for scissors, clarity matters. Hair thinning—reducing volume or density in specific areas—differs fundamentally from hair loss. Thinning is about removing bulk while keeping your hair healthy. Hair loss means strands stop growing altogether, leaving thinner patches or bald spots. Confusing the two leads to wasted money on wrong products or techniques.
Professional hairdressers thin hair using specialized tools and cuts designed to remove weight without shortening length significantly. A good thin focuses on internal layers, creating movement and reducing heaviness. You can achieve similar results at home with the right approach, though professional work (£25–£60 in UK salons) often justifies the cost for dramatic transformations.
Why Thinning Your Hair Matters
Thick hair creates real problems in modern living. Apartment dwellers know the struggle: blow-drying takes 20–30 minutes longer than average, generates excess steam that fogs mirrors and windows, and requires twice the styling products. Your hair takes longer to fully dry, which means waiting longer after showering before you can leave home.
Volume control improves styling options too. Thinned hair holds curls better, accepts braids without looking chunky, and looks sleeker when worn down. In limited spaces, managing moisture and humidity becomes easier when you’ve reduced the sheer mass of hair. You’ll also notice less product buildup, meaning you can stretch time between deep cleans.
Professional Thinning Methods Explained
Razor Thinning
This technique uses a special razor blade held at specific angles through hair strands, creating graduated layers that remove length progressively. Hairdressers often prefer this for fine or fragile hair because it creates softer edges compared to scissors. The blade creates internal texture while maintaining shape.
Cost: £35–£50 for a professional cut incorporating thinning. Results last 6–8 weeks before regrowth becomes visible.
Scissor-Over-Comb Thinning
The classic barber technique involves combing hair upward and cutting the elevated section with scissors, methodically removing length while maintaining graduation. This approach works beautifully for coarse or curly hair. The comb guides placement precisely, preventing accidental chunks.
Cost: £40–£60 for professional service. Longevity: 8–10 weeks.
Point Cutting
Stylists hold scissors vertically and tap into hair ends rather than making straight lines across. This creates natural texture, reduces weight softly, and prevents blunt lines. Point cutting works especially well for shorter styles or when you want movement without looking heavily thinned.
Cost: Often included in premium cuts (£50–£70). Results look subtler but last longer, around 10 weeks.
Texturizing Shears
Special scissors with teeth cut only sections of each strand, leaving others intact. This creates distributed texture throughout rather than removing full sections. Many stylists combine texturizing with other methods for layered, dimensional results.
Cost: £30–£45 add-on to a basic cut.
DIY Thinning Tools and Techniques
Thinning Shears (Texturizing Scissors)
Home thinning shears aren’t substitutes for professional razors, but decent quality ones cost £12–£25 and work reasonably well for maintenance between salon visits. Look for shears with 30–40% tooth density—higher percentages remove too much, too fast.
Technique: Work in small sections, point the shears downward (not across), and make 2–3 quick cuts per section rather than one long cut. Never thin more than 30% of your hair in one session. Start conservatively; you can always remove more.
Best for: Touch-ups between professional cuts, thinning specific thick areas, or maintaining a cut you’ve already had professionally shaped.
Razor Method at Home
Professional razors cost £15–£40, but mastering the technique requires practice. Hold the razor at a 45-degree angle to the hair shaft, using downward strokes. This method removes more hair per stroke than shears, making mistakes more visible.
Honestly? This ranks risky for DIY. One slip means visible gaps. Save this for professionals unless you’re confident with your hand coordination.
Clipping and Section Method
The safest DIY approach involves breaking hair into 8–12 sections using clips, then working one section at a time with thinning shears. Wet hair is easier to control. Work in the bottom layers first (underneath), which won’t show mistakes as obviously. Take vertical sections rather than horizontal—this looks more natural.
Results take 1–2 hours for shoulder-length hair but avoid bad haircuts.
Budget Breakdown: Professional vs DIY
Professional Cut with Thinning:
- Budget salon: £25–£40
- Mid-range salon: £40–£75
- High-end salon: £75–£150+
- Frequency: Every 6–10 weeks = £130–£780 annually
DIY Maintenance Between Salon Visits:
- Thinning shears (one-time): £15–£25
- Per-session cost: £0 (beyond initial tool investment)
- Time investment: 45–90 minutes per session
- Annual cost: £15–£25 after first purchase
Full DIY Route (no salon visits):
- Professional-quality scissors: £30–£50
- Quality clips, spray bottle, comb: £15–£25
- Time: 2–3 hours per session every 8 weeks
- Risk factor: High without training
Smart strategy: Professional cut every 12 weeks (£35–£50), DIY thinning maintenance every 4 weeks (shears cost £20 one-time) equals roughly £170–£250 annually—half the cost of all-professional approaches.
Step-by-Step DIY Thinning Guide
Preparation (15 minutes)
- Wash and condition hair, leaving it damp but not dripping
- Comb thoroughly, removing all tangles
- Gather supplies: thinning shears, sectioning clips (4–6), spray bottle, comb, towel
- Work in natural light near a mirror
Sectioning (5 minutes)
Divide hair into 8 sections: part down the middle from forehead to neck, then part from ear to ear across the crown. Clip up all sections except the bottom back section—this becomes invisible if mistakes happen.
Thinning Process (60–90 minutes)
Starting with the bottom-back section:
- Take a small vertical subsection (about pencil-width)
- Hold shears vertically, tips pointing downward
- Make 2–3 snipping motions from mid-length to ends—don’t cut the roots
- Move to the next subsection adjacent to the first
- Repeat until the entire section feels lighter
- Move up one section and repeat
- Work up both sides, leaving the crown section until last
Pro tip: Spray each section lightly with water between passes. Damp hair holds together better and prevents flying strands.
The Crown Section (Most Visible)
Work less aggressively here—make only 1–2 cuts per subsection. Crown hair frames your face; mistakes are obvious. Consider skipping this area entirely if you’re new to DIY thinning.
Final Check (10 minutes)
Dry your hair and assess. The result should look subtly lighter, not choppy. If certain areas feel too thick still, you can do targeted passes later. It’s easier to remove more hair than to add it back.
Thinning Different Hair Types
Fine Hair That Feels Thick
Fine-textured hair with high density (many strands close together) needs careful thinning. Remove too much and it looks thin and stringy; remove enough and it flows beautifully. Use point cutting or razor methods preferentially—both remove bulk without breaking fine strands. Avoid thinning shears if possible; they can create split ends.
Maximum thinning: 20% of total volume.
Coarse, Curly Hair
This hair type benefits most from thinning. Curls show thickness dramatically. Scissor-over-comb works especially well because it removes defined sections while respecting curl pattern. Texturizing shears also perform well since curls hide the texture lines.
You can thin 30–40% of volume safely; curls expand to fill the space naturally.
Straight, Thick Hair
Straight hair shows thinning lines clearly unless done skillfully. Avoid obvious horizontal lines—always work vertically. Razor thinning creates the most invisible results for straight hair. If DIY, prioritize areas at the nape and sides where lines hide naturally.
Safe thinning level: 25–35%.
Wavy Hair
Wave patterns need strategic thinning around the face and crown to prevent poof. Thin underlayers aggressively; keep upper layers fuller for shape. Point cutting and texturizing work beautifully to enhance wave definition.
Optimal thinning: 25–30%.
Mistakes to Avoid
Thinning too much at once: Commit to removing maximum 20–30% volume in a single session. Hair feels dramatically different; you might hate it initially before adjusting. Conservative is safer.
Working on dry hair: Dry hair tangles and breaks unpredictably. Thinning shears slip. Always work on damp hair.
Making horizontal cuts: This creates visible choppy lines. Always cut vertically or at severe angles for soft, invisible results.
Neglecting the back: You can’t see the back of your head but others can. This area often needs most thinning. Use mirrors strategically (hold a handheld mirror facing backward while looking in your main mirror).
Cutting too close to the scalp: This causes breakage and weakens roots. Keep all cuts 2 inches minimum from the scalp.
Using dull shears: Dull blades catch and snap hair rather than cutting cleanly. Invest in decent quality. Professional shears hold sharpness far longer than budget versions.
Products That Complement Hair Thinning
Alongside thinning, certain products reduce the appearance of thickness:
Lightweight Conditioners (£6–£15): Heavy conditioners weigh thin-cut hair down. Switch to lightweight formulas that hydrate without bulk. SheaMoisture, Cantu, and Kinky-Curly offer UK options around £8–£12 per bottle.
Volumizing Dry Shampoo (£4–£8): Paradoxically, dry shampoo texturizes and separates strands, making thinned hair look fuller and less flat. Use 2–3 times weekly, not daily.
Leave-In Sprays vs Heavy Oils (£5–£12): Lightweight sprays add moisture and definition without creating greasy buildup. Skip coconut oil and argan oil pastes; they weight down thinned hair.
Anti-Frizz Serums (£7–£14): Light serums tame flyaways without flattening thinned sections. Look for silicone-based formulas rather than oil-based.
Styling Tips for Thinned Hair
Thinned hair behaves differently. Leverage these changes:
Blow-drying is 30% faster because there’s less mass to dry. Use medium heat on lower settings—thinned hair is more heat-sensitive.
Curls hold better because weight doesn’t pull them down. Consider curling tools you might’ve abandoned before.
Braids and updos look cleaner without bulky excess. You’ll achieve polished looks with less effort.
Side parts and styles create instant shape. Thinned hair responds to styling direction better than thick, heavy locks.
Layered cuts look better. If you get professional cuts post-thinning, ask for longer layers that show movement improved by reduced weight.
How Often Should You Thin Your Hair?
Hair grows approximately 6 inches annually (15 cm). Professional thinning lasts 6–10 weeks depending on technique—shorter timelines for razor work, longer for scissors. Schedule professional thinning every 8–10 weeks, or 5–6 times yearly.
DIY maintenance every 4–5 weeks (between professional appointments) keeps volume manageable without overdoing it. More frequent thinning risks cumulative damage; less frequent means thickness creeps back.
Observe your hair texture monthly. If it starts feeling bulky again or takes noticeably longer to dry, it’s time for maintenance thinning.
When to Seek Professional Help
Certain situations demand professional expertise:
- First-time thinning (professionals shape the foundation correctly)
- Very short hair (less margin for error)
- Damaged or previously color-treated hair (more fragile)
- Extremely thick or coarse hair (needs expert assessment)
- You’re unsure about your hair type or texture
- Previous DIY attempts didn’t go well
Invest in one professional cut (£40–£60 range). A good stylist shapes your hair and thins it properly, giving you a foundation to maintain at home afterward. This costs less than 2–3 bad DIY attempts.
Frequently Asked Questions
Does thinning hair make it grow back thicker?
No. Hair thickness is determined by genetics and hormones, not cutting. Thinning removes strands but doesn’t affect new growth thickness. You might notice slight changes if thinned hair feels less heavy, but the underlying structure stays the same.
Can I thin curly or textured hair the same way as straight hair?
No. Curls expand and shift differently. Thin curly hair vertically and in the direction the curl grows. Straight hair can tolerate more horizontal work. Texturizing shears work better for curls; razors work better for straight. Consult a stylist experienced with your specific curl pattern before DIY thinning.
How much should I thin my hair in one session?
Remove 20–30% of total volume maximum per session. This is roughly equivalent to making 2–3 passes through each section with thinning shears. If you thin more, density changes dramatically and might look unbalanced until you adjust styling.
What’s the difference between thinning shears and regular scissors?
Thinning shears have teeth or notches on one blade, removing only partial strands per cut. Regular scissors cut full sections cleanly. Thinning shears create texture; scissors create defined layers. You need thinning shears specifically for this task; regular scissors won’t achieve the right effect.
Can I thin my hair if it’s already damaged?
Damaged hair needs caution. Thinning removes length, which removes dead ends and damage. However, if your hair is severely damaged throughout (breakage, split ends past mid-length), thinning makes the damage more visible. Consider a trim first, then minimal thinning with razors (gentler than shears) afterward. Ask a professional to assess severity before proceeding.
Moving Forward: Your Hair Thinning Plan
Thinning hair transforms your styling routine, especially in space-limited living situations. You’ll spend less time blow-drying, less money on products, and experience fewer bad-hair days. The confidence of having your desired texture matters too.
Start with a professional cut if you haven’t thinned before—this investment (£40–£60) teaches your stylist your preferences and gives you a blueprint for maintenance. Afterward, DIY touch-ups every 4–5 weeks with quality thinning shears (£20 one-time investment) keeps bulk controlled between professional appointments.
The truth about how to thin hair is simple: quality tools and patience deliver better results than rushing. Whether you choose professional-only, hybrid professional-plus-DIY, or full DIY approaches depends on your confidence and hair type. Monitor your hair monthly, adjust frequency based on growth, and don’t panic if the first attempt feels different—thinned hair behaves differently but settles into a new normal quickly. Your future self (the one not spending 30 minutes blow-drying thick hair) will thank you.